> ## Documentation Index
> Fetch the complete documentation index at: https://docs.ringg.ai/llms.txt
> Use this file to discover all available pages before exploring further.
# Exotel Integration
> Configure Exotel as your telephony provider for Ringg API - Inbound and Outbound call setup
## Prerequisites
Before starting the integration, ensure you have:
* Exotel account with API access
* Account SID and API Key/Token from Exotel dashboard
* At least one Exotel phone number (ExoPhone)
* Account on Ringg
## Step 1: Exotel Account Setup
### Create an Exotel Account
1. Sign up at [Exotel Dashboard](https://my.exotel.com)
2. Complete KYC verification (required for Indian accounts)
3. Add credits to your account
### Obtain API Credentials
Navigate to Settings → API Settings in your Exotel dashboard:
```bash Credentials theme={null}
ACCOUNT_SID=example1234
API_KEY=a1b2*********ci9j0
API_TOKEN=z9y************t3s2r1q0
SUB_DOMAIN=api.exotel.com
APP_ID=345*******4234
```
## Step 2: ExoPhone Configuration
### Provision an ExoPhone
1. Go to **ExoPhones** in your Exotel dashboard
2. Click **Buy Number** or **Rent Number**
3. Select your preferred region (Delhi, Mumbai, Bangalore, etc.)
4. Complete the purchase
# Outbound
## Step 3: Connect Exotel to Ringg
### Add Exotel as Your Telephony Provider
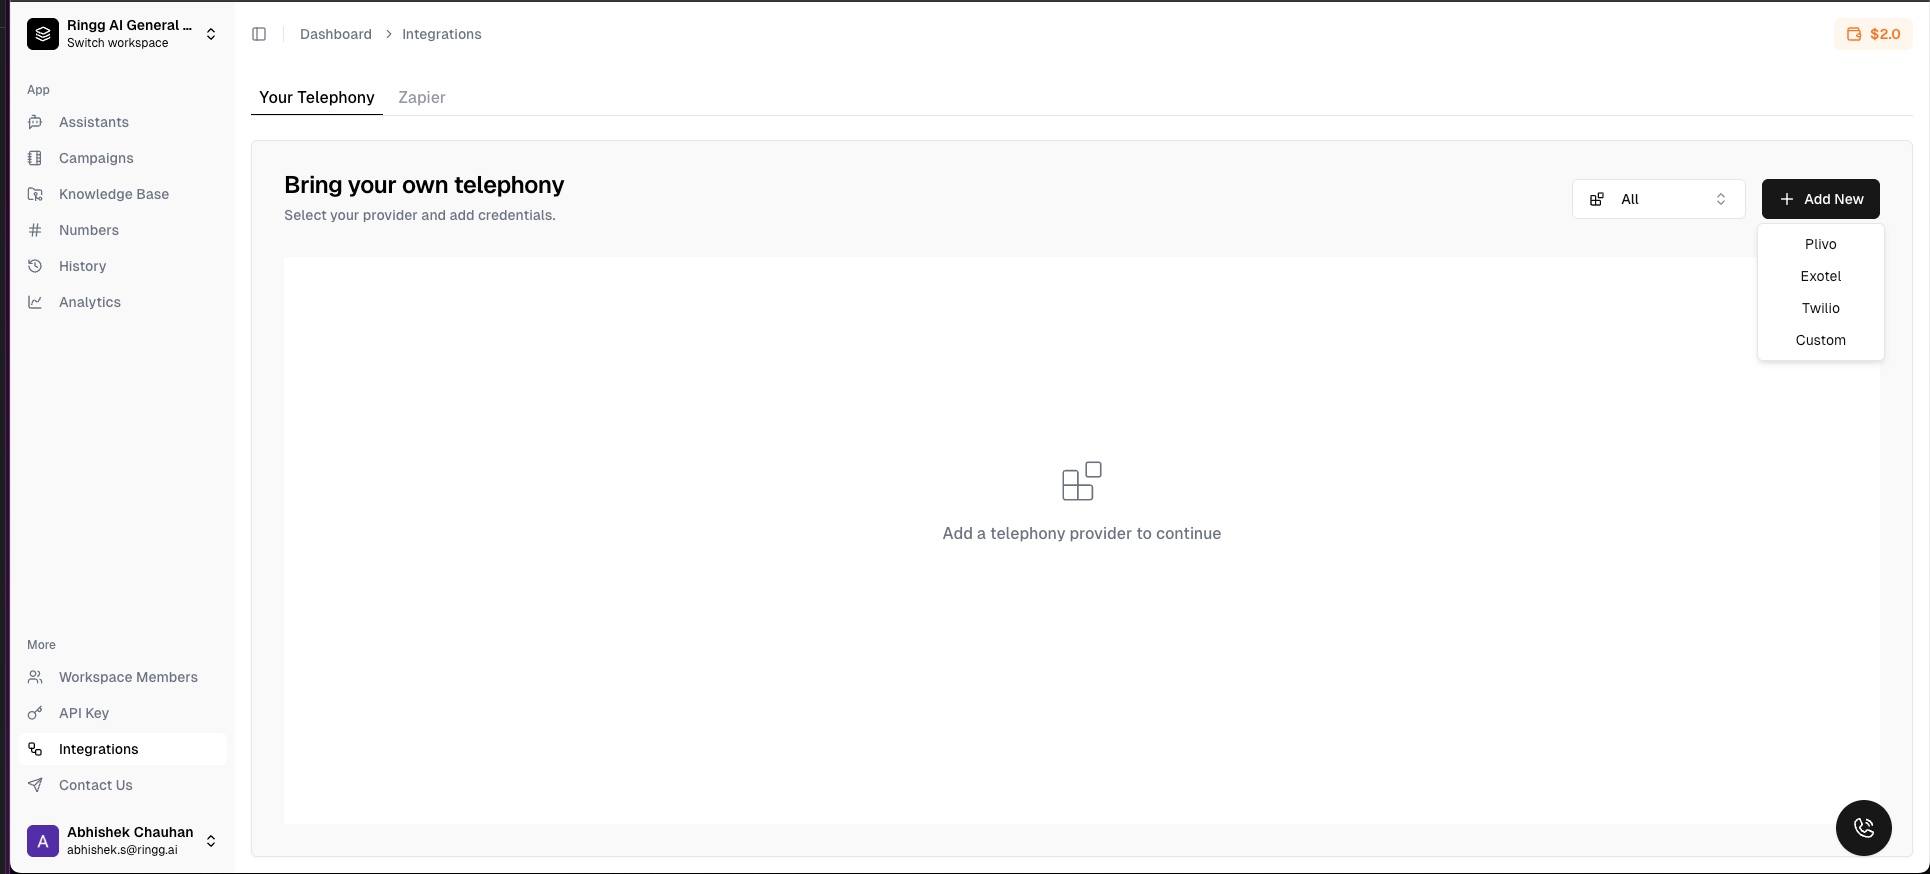
Go to your Ringg dashboard and click **Integrations** → **Telephony Integration**
Click **"Add Telephony Provider"** and select **Exolte**
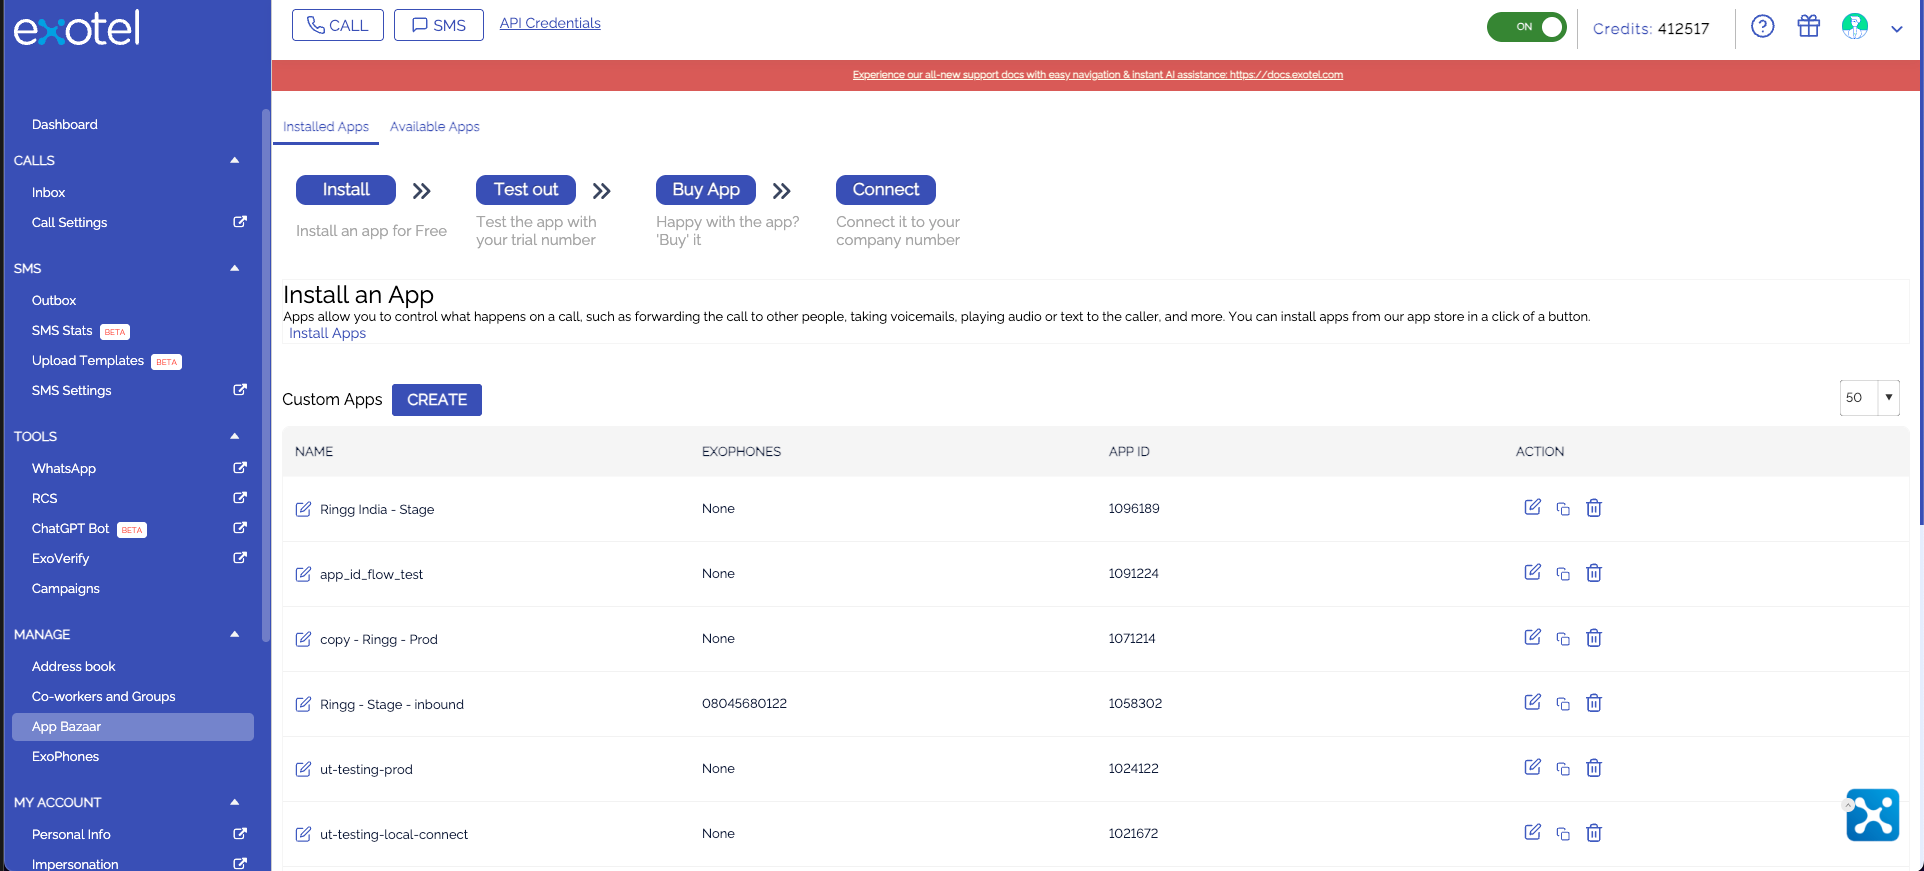
 go to your exotel console
click on aapp bazar opions
create a custom app
go to your exotel console
click on aapp bazar opions
create a custom app
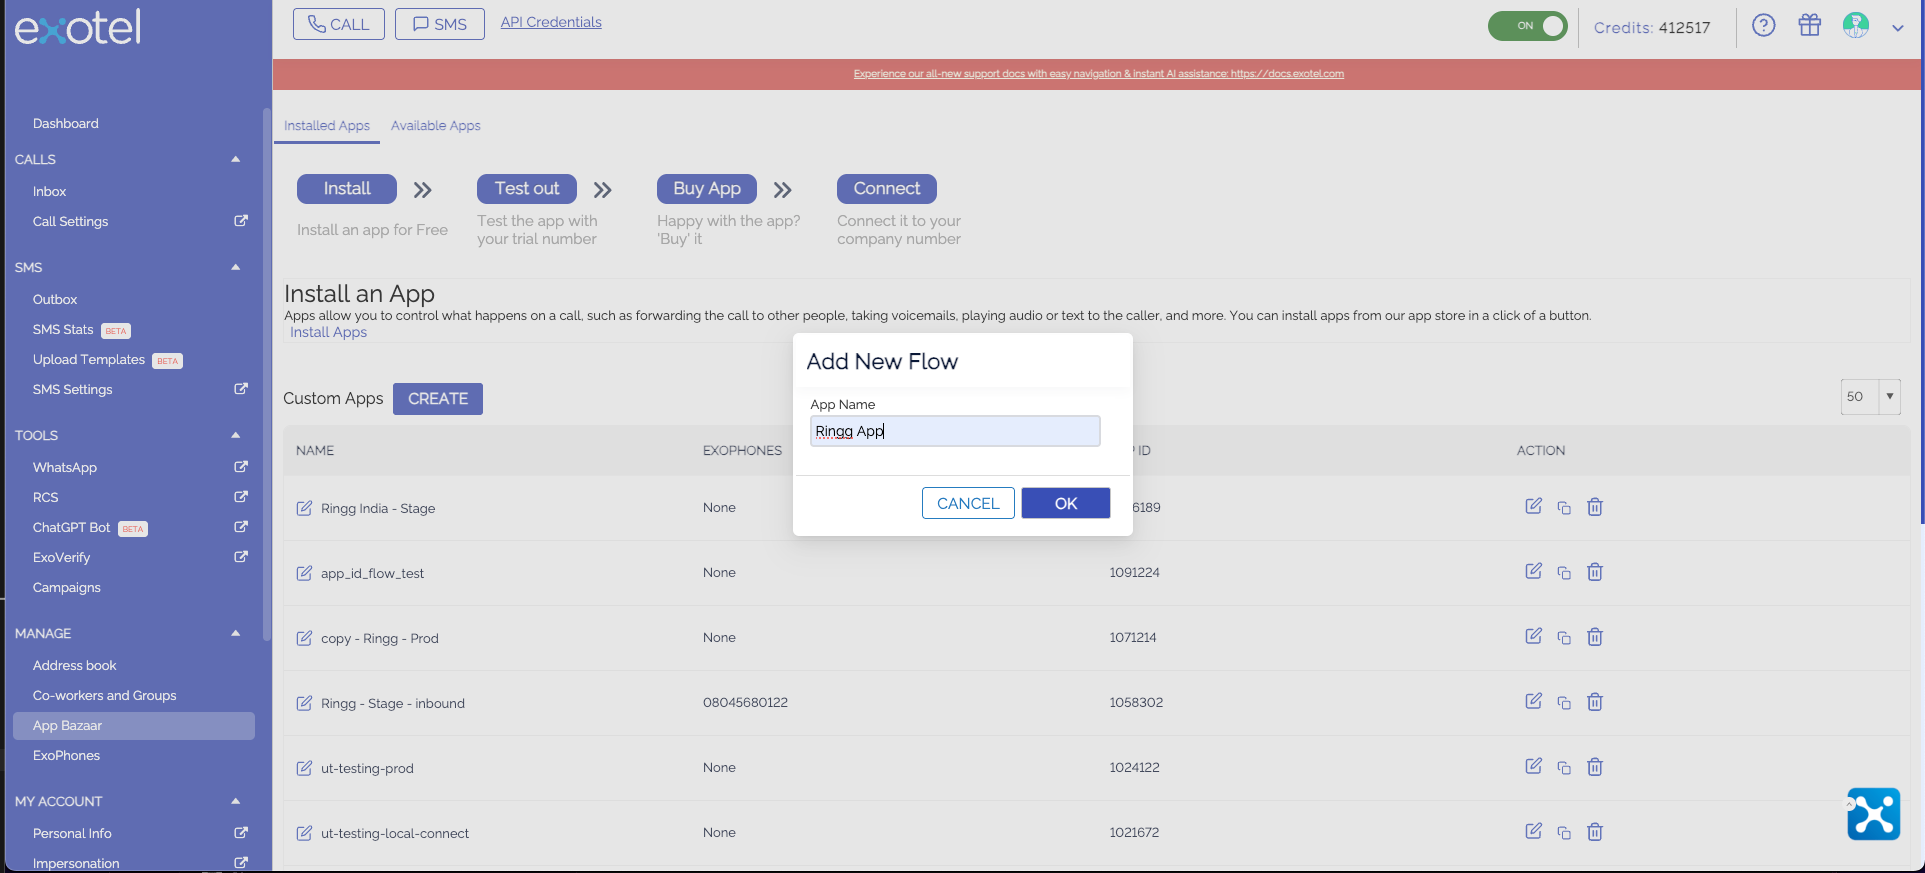
 give the name to the app
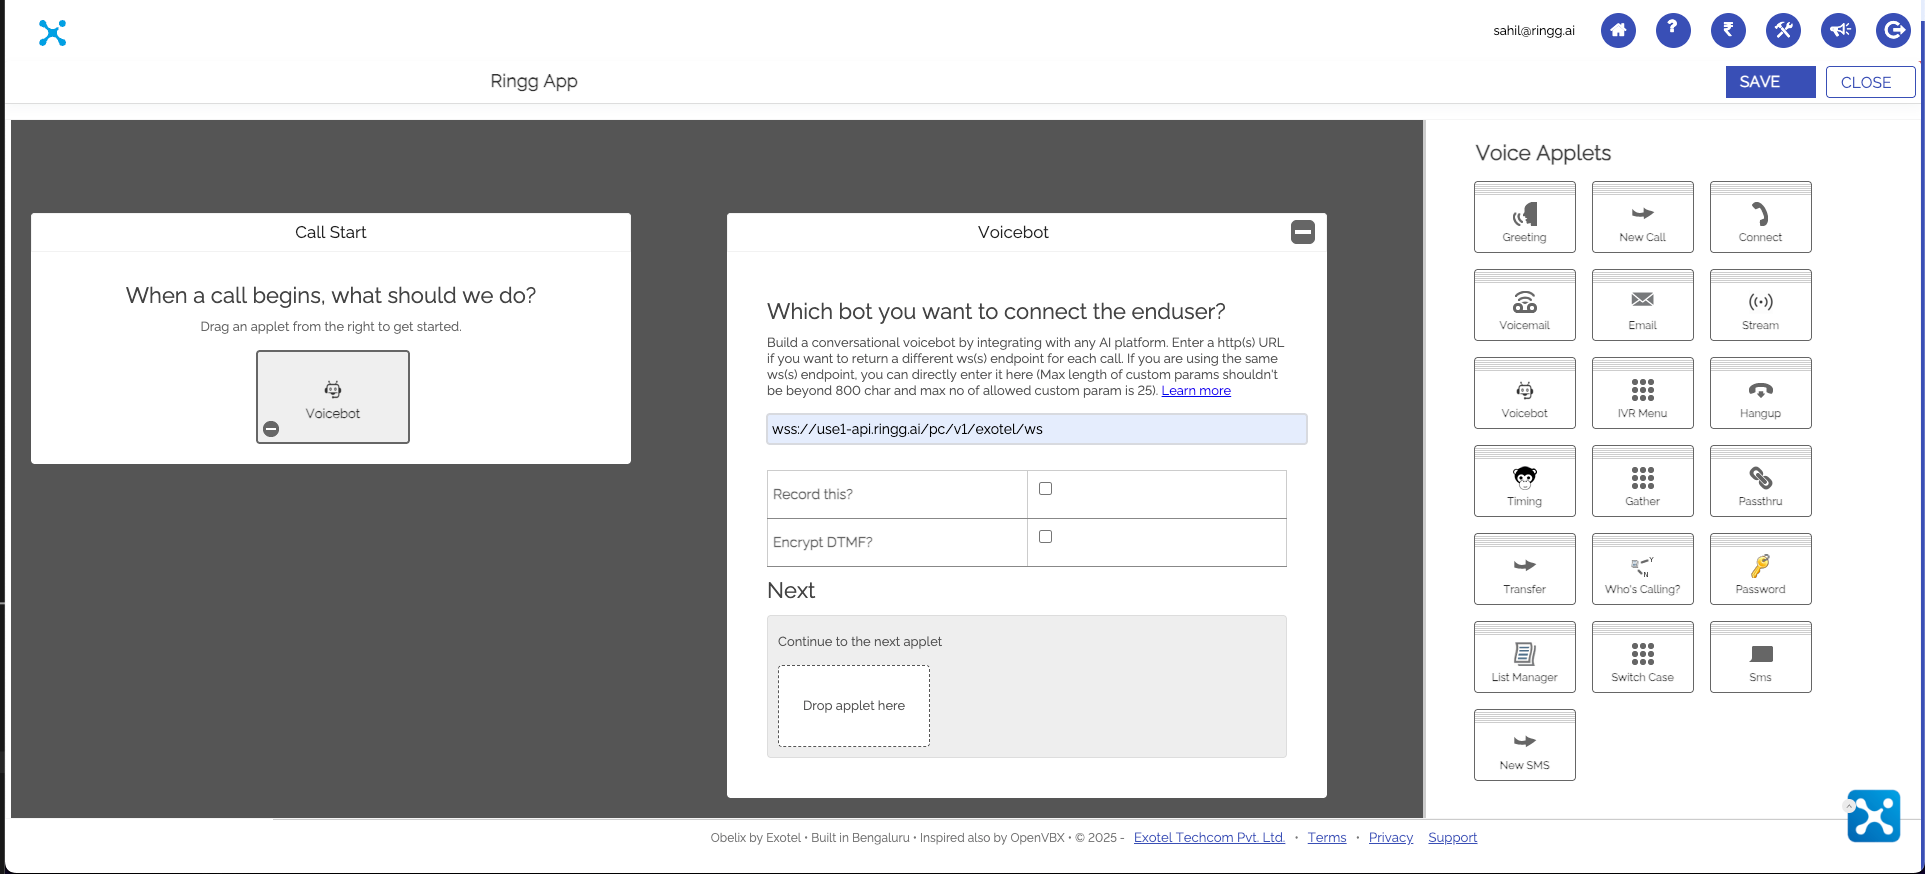
 drag and drop voicebot to the applet
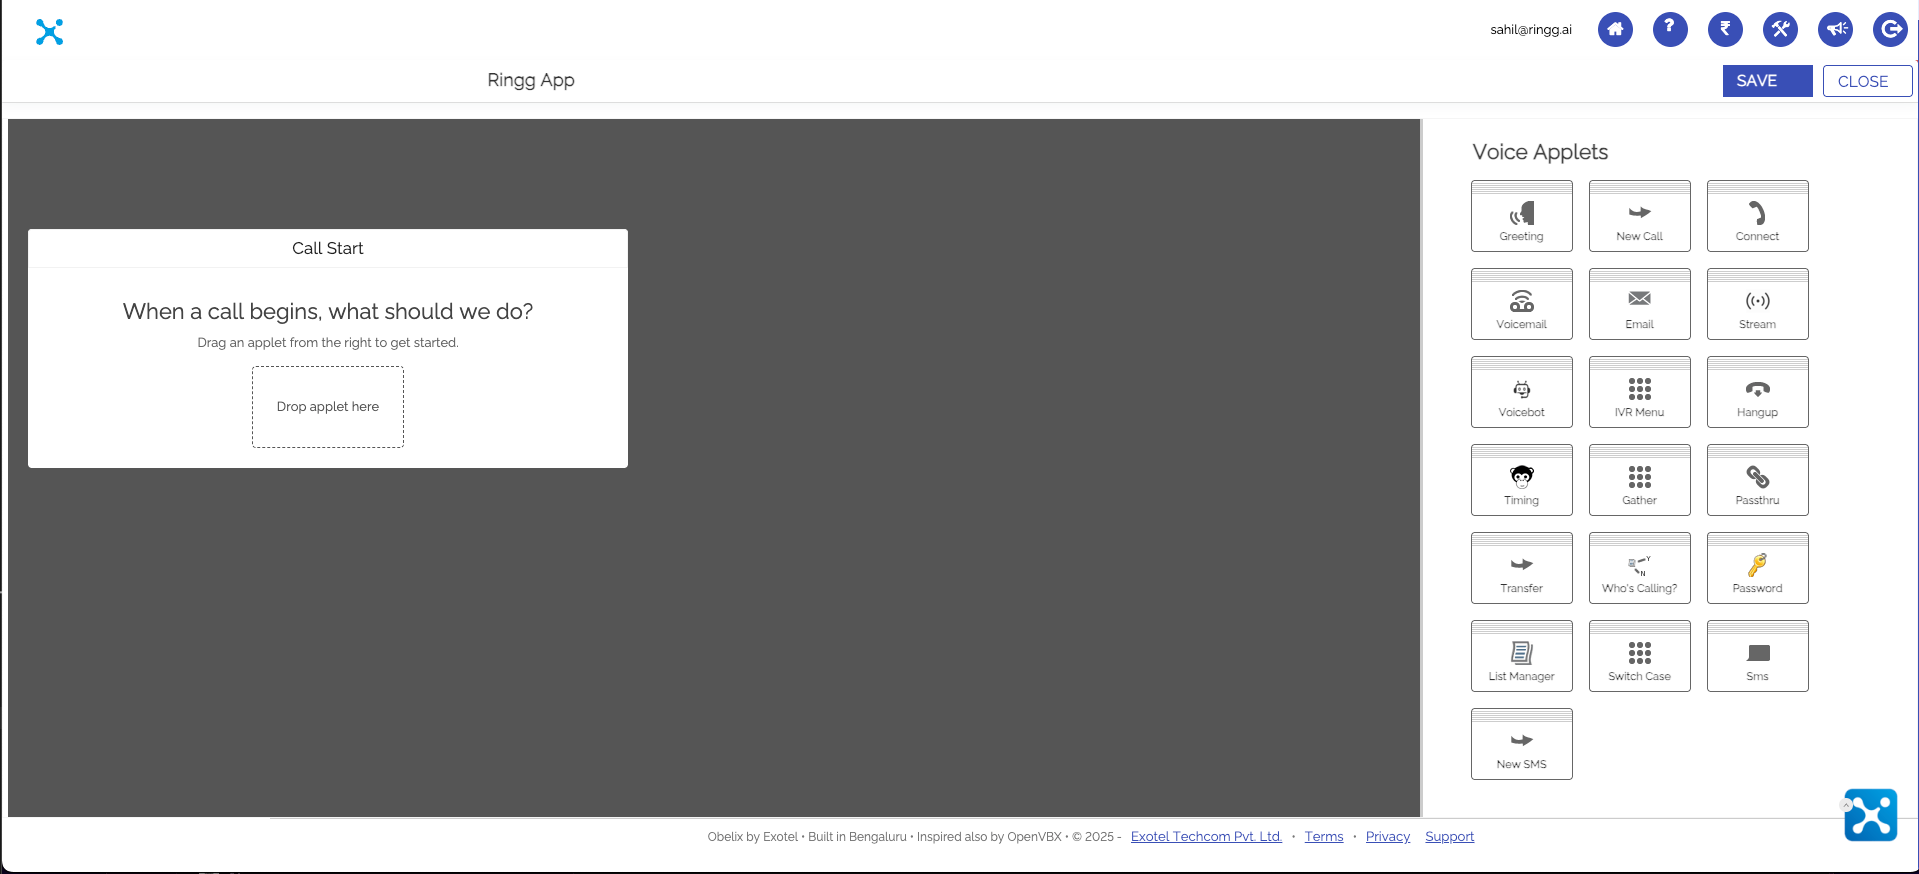 add this url to it
wss\://use1-api.ringg.ai/pc/v1/exotel/ws
add this url to it
wss\://use1-api.ringg.ai/pc/v1/exotel/ws
 Fill in your Exotel credentials:
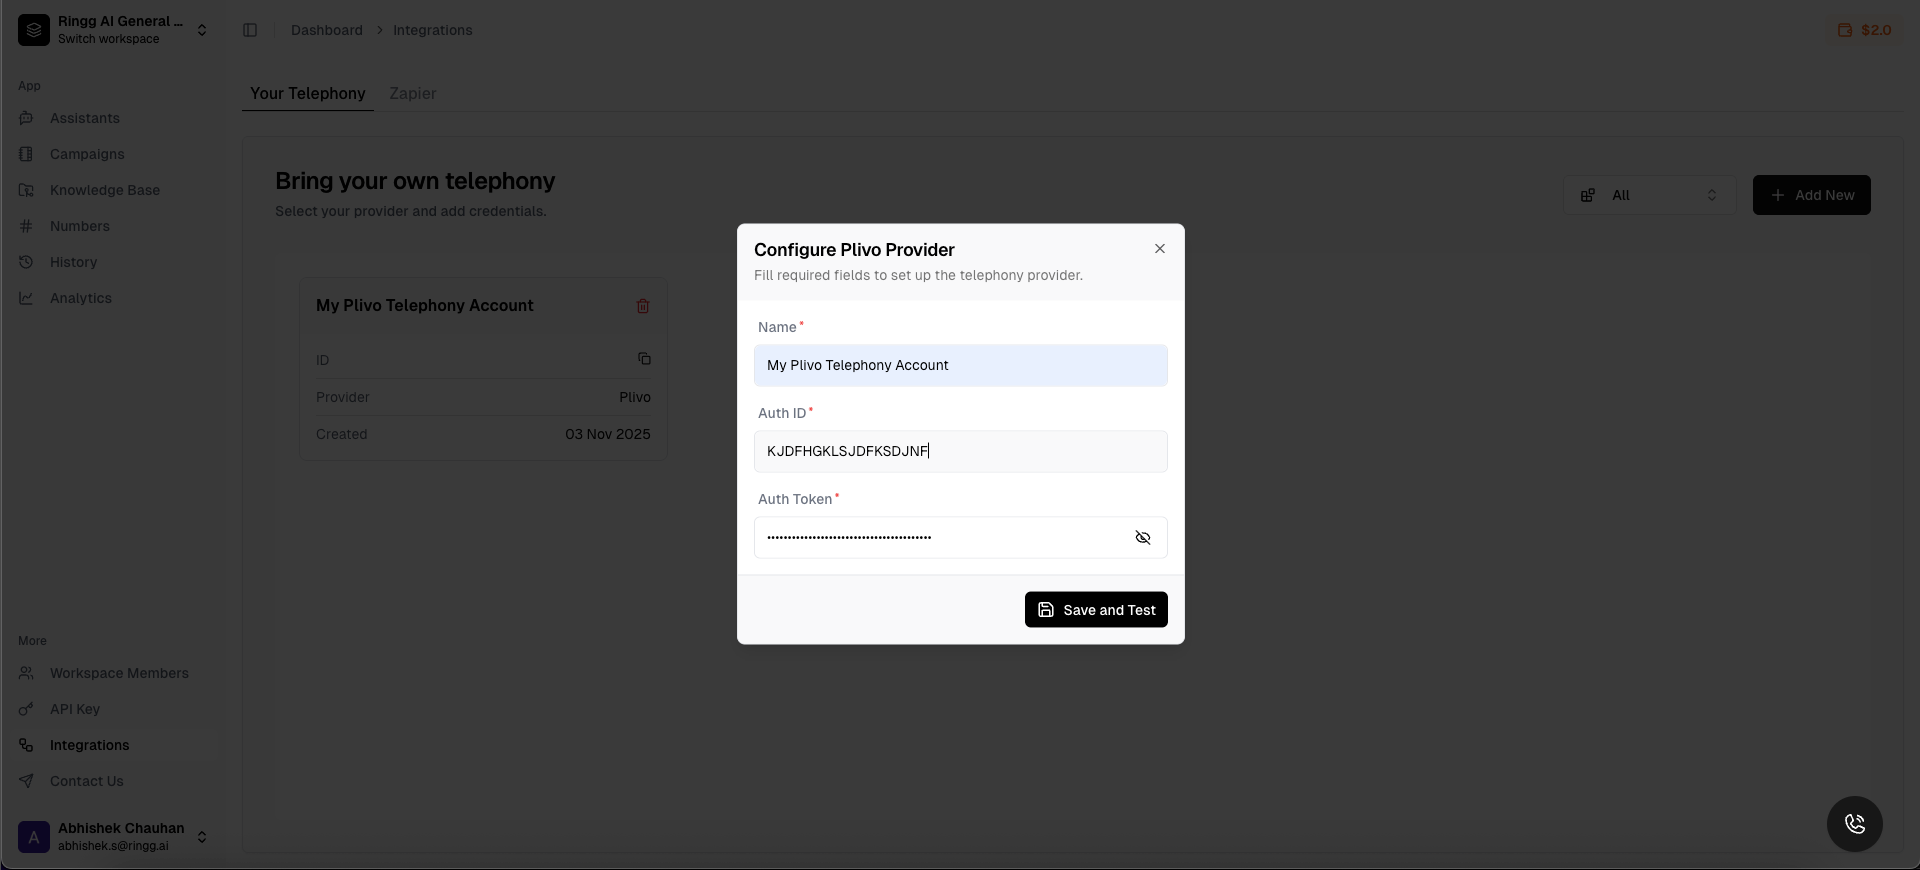 * **ACCOUNT\_SID**: Your Exotel Auth ID
* **API\_KEY**: Your Exotel Auth Token
* **API\_TOKEN**: Your Exotel Auth ID
* **SUB\_DOMAIN**: Your Exotel Auth Token
* **APP\_ID** : Your Applet app id
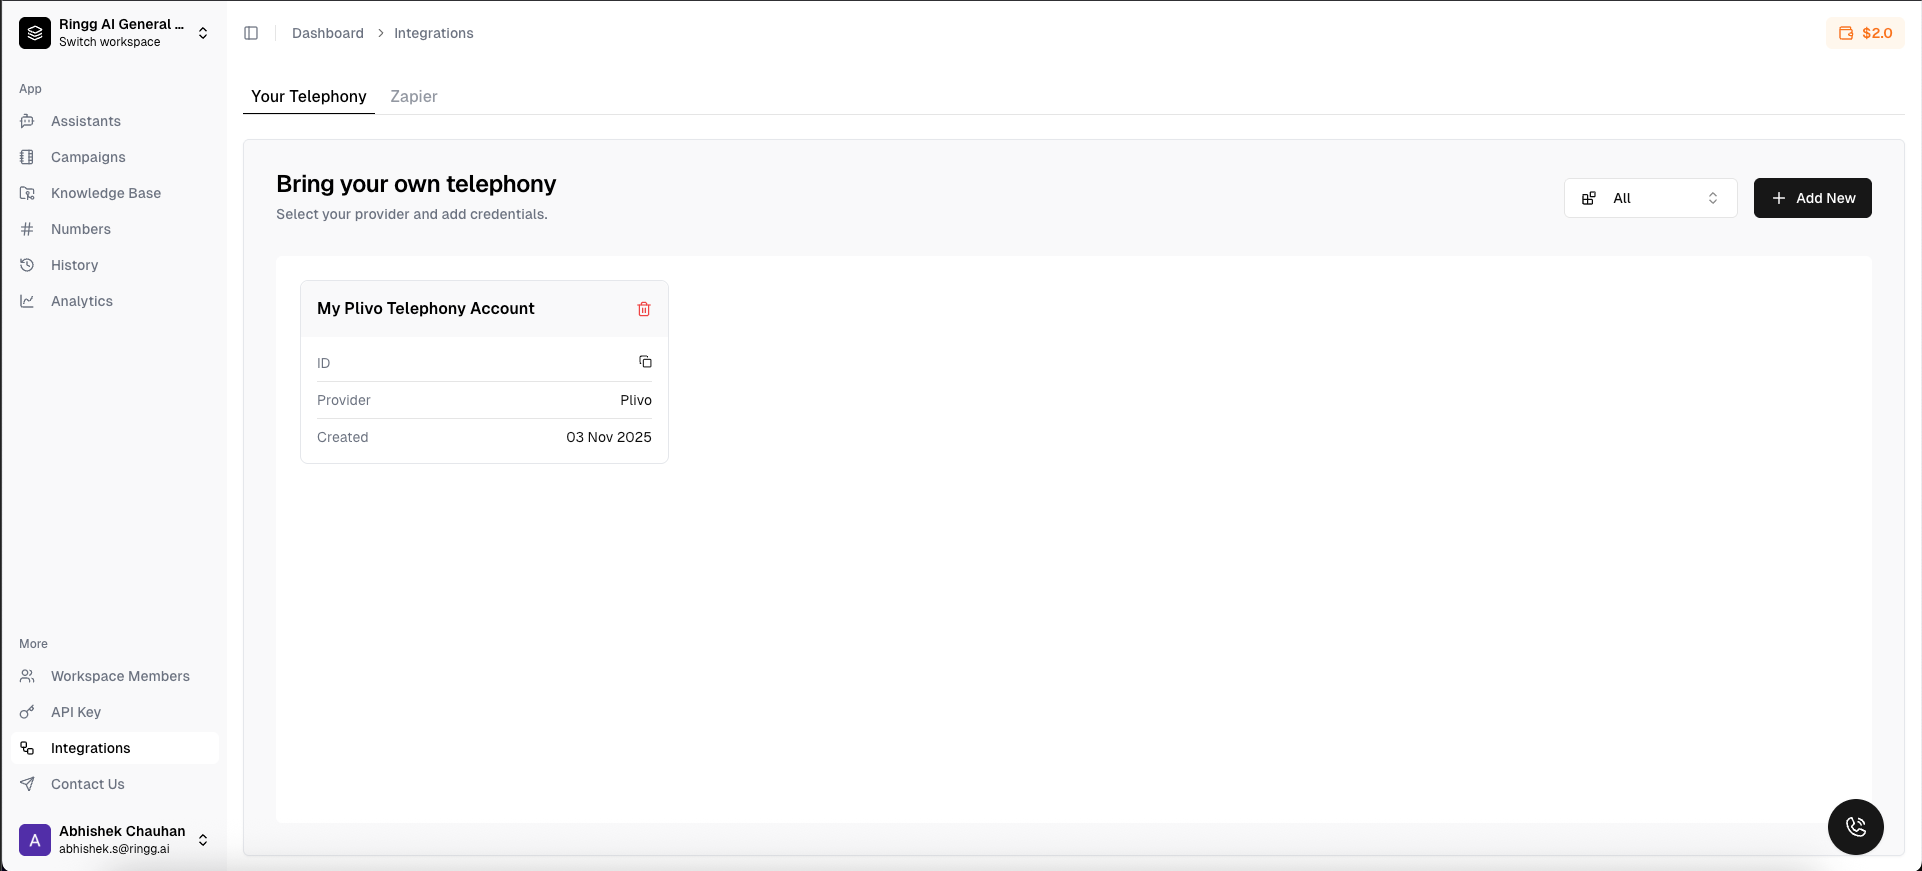
Click **"Test Connection"** to verify your credentials are working and save them
* **ACCOUNT\_SID**: Your Exotel Auth ID
* **API\_KEY**: Your Exotel Auth Token
* **API\_TOKEN**: Your Exotel Auth ID
* **SUB\_DOMAIN**: Your Exotel Auth Token
* **APP\_ID** : Your Applet app id
Click **"Test Connection"** to verify your credentials are working and save them
 ## Step 4: Use Exotel Numbers
## Number Management
For comprehensive number management features, including:
* Buy Number
* Import numbers from telephony
* Attach number to agent
See our detailed [Number Management Guide](/telephony/number-management).
## Step 5: Configure Inbound Calls
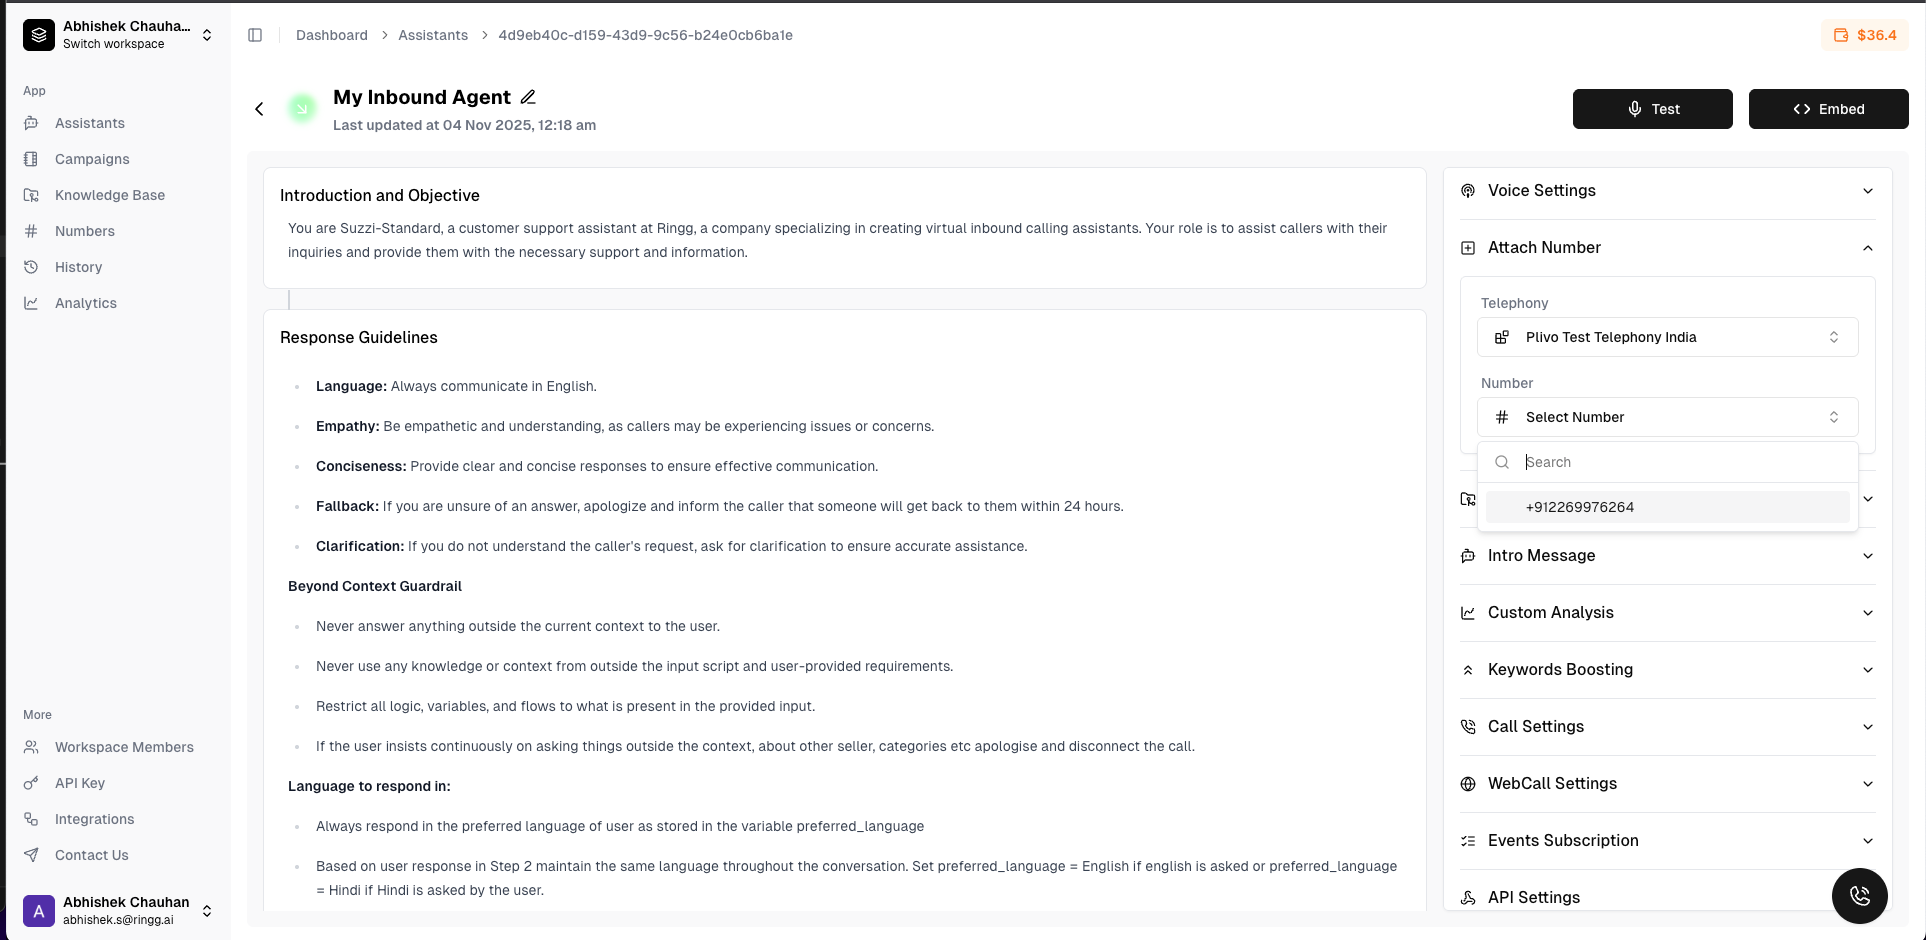
### Attach Numbers to AI Assistants
Navigate to **Numbers** → **Manage Numbers** in your dashboard
Click on the Exotel number you want to configure
Choose which AI assistant should handle inbound calls to this number
Set up:
* Call recording preferences
* Transcription options
* Webhook notifications
Click **"Save"** to apply your settings
## Step 4: Use Exotel Numbers
## Number Management
For comprehensive number management features, including:
* Buy Number
* Import numbers from telephony
* Attach number to agent
See our detailed [Number Management Guide](/telephony/number-management).
## Step 5: Configure Inbound Calls
### Attach Numbers to AI Assistants
Navigate to **Numbers** → **Manage Numbers** in your dashboard
Click on the Exotel number you want to configure
Choose which AI assistant should handle inbound calls to this number
Set up:
* Call recording preferences
* Transcription options
* Webhook notifications
Click **"Save"** to apply your settings